

Why most progress photos are hard to compare
Two photos taken a month apart can differ in a dozen ways that have nothing to do with your body:
- Distance and lens. A close-up taken with a wide lens enlarges whatever is nearest the camera. Step back and use the standard 1× lens.
- Camera height. A phone held at face height and tilted down shortens the legs and changes proportions.
- Light. Overhead light casts shadows under the chest and stomach that come and go with the bulb, the hour and the weather.
- Posture and breath. Standing tall or slumped, breathing in or out, moves the outline more than a month of change.
- Timing and clothes. A big meal, a salty dinner or a different pair of leggings all show up in the picture.
The fix is not a better camera. It is doing the same thing every time.
Set up once: the spot, the light, the camera
- Pick a plain wall with room to stand a step in front of it. Busy backgrounds make outlines harder to read.
- Mark the floor twice with a strip of tape: once where you stand, once where the tripod or shelf goes.
- Light from in front. Face a window in daylight, or put a lamp behind the camera. Avoid a single overhead light.
- Phone at chest height, level, on a tripod, a shelf or a stack of books — never handheld.
- About 2 m (6 ft) away, so your whole body fits with the standard 1× lens. Don't zoom, and don't switch to the ultra-wide lens.
- Turn on the grid and level: on an iPhone, go to Settings, tap Camera, then turn on Grid and Level.1
- Pick one aspect ratio and keep it. The iPhone camera offers 1:1, 4:3 and 16:9.1
- Use the self-timer. In the Camera app, tap Timer, then choose 3, 5 or 10 seconds, and tap the shutter.1 Ten seconds gives you time to reach the mark and settle.
- No Portrait mode, filters or editing. They change outlines and skin tone from one photo to the next.
The three poses
| Pose | How to stand | Tip |
|---|---|---|
| Front | Feet on the mark, hip-width apart; arms relaxed a little away from your sides; look at the camera | Breathe out normally. Don't pull in your stomach or push it out. |
| Side | Turn 90° to the same side every time; arms relaxed and slightly forward so they don't hide your waist | Line your ear up with a vertical grid line. |
| Back | Face the wall, feet on the mark, arms relaxed | Let your shoulders drop. |
| Optional: everyday | The same outfit you wear often, front-on | Shows how clothes fit, which is often the change people notice first. |
Wear the same fitted outfit for the three main poses — the same shorts and top, for example. Loose clothing hides shape, and a different outfit changes the outline.
The routine: when and how often
- Same time of day. First thing in the morning, before eating, is the most repeatable — and it matches the advice for tape measurements.
- Every four weeks. Weekly changes are too small to see, and looking every week tends to feed worry rather than show progress.
- Same day as your measurements, if you take them, so the two records line up.
- Note anything unusual — a late dinner, a heavy training day, bloating — so you can explain an odd photo later.
Comparing photos fairly
Compare photos months apart, not weeks: the first photo against the latest, or one from each season. Line them up using the grid — feet on the same line, head near the same line — and view them at the same size. If the light or distance changed, note it rather than reading too much into the difference.
Photos can be hard to look at, especially early on. You don't have to review them every time you take them. Some people take them faithfully and only look after three or six months. Treat them as information, not a verdict, and see non-scale victories for the changes a photo cannot show.
Keeping progress photos private
Progress photos are sensitive. On an iPhone, hiding a photo moves it to the Hidden album, so it no longer appears in your library, other albums or the Photos widget. Since iOS 16, the Hidden album is locked by default and opens with Face ID or Touch ID.2 To hide one, touch and hold the photo, tap Hide, then confirm.2
Check any shared albums or shared libraries you use, so progress photos don't land somewhere other people can see them. Cafeity does not ask for your photos: the app keeps your weight, measurements and notes, and the pictures stay in your own Photos library.
Keeping a record of it
Photos show shape; numbers show trend. In Cafeity, weight appears as a smoothed trend, measurements for waist, hips, chest, arm, thigh and neck sit beside it, and the Visit Summary can include both for an appointment.

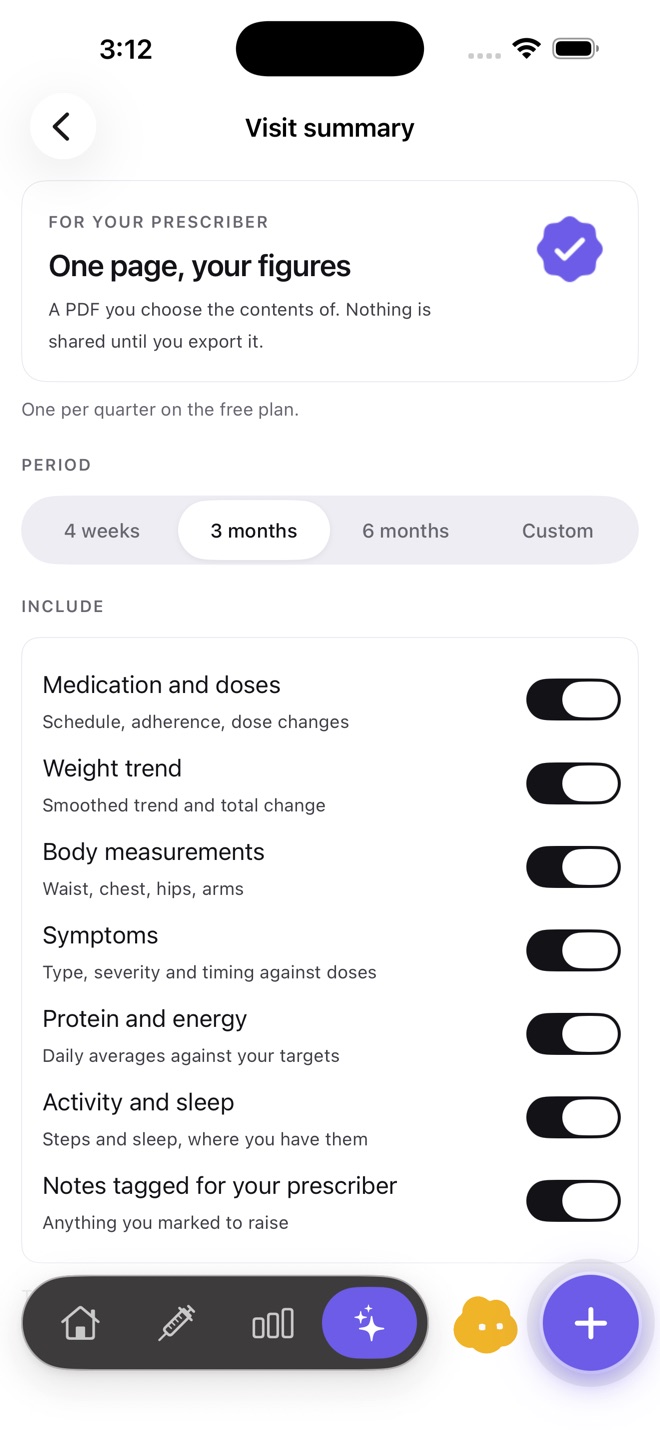
Screenshots: Cafeity for iPhone, version 1.1.
Common questions
How often should I take progress photos on a GLP-1?
What should I wear for progress photos?
Should I use the front or back camera?
How do I keep progress photos private on an iPhone?
Why do my progress photos look different every time?
Does Cafeity store progress photos?
Sources
- Use iPhone camera tools to set up your shot (timer, grid and level) Apple Support, iPhone User Guide
- Hide photos on your iPhone, iPad, Mac, or Apple Vision Pro with the Hidden album Apple Support, 16 March 2026
Written by the Cafeity team from the sources listed here. Figures from prescribing information are quoted as the label states them; trial results are averages from those trials, not predictions for any one person. This page has not yet been reviewed by a clinician — see the editorial policy for how pages are researched and corrected.